Overview
Your Online Checkout or B2C (Business to Consumer) Website is where customers are sent when they click the "Buy Tickets" link on your organization's website. The online checkout site is white labeled meaning it uses the header and top navigation links that mirror the look and feel of your website, so customers have a cohesive experience navigating from one site to another site.
It is important that ACME has access to your webmaster so that we can easily make the changes needed to keep the online checkout site in sync. While your webmaster is responsible for making changes to your organization's site, ACME personnel may occasionally suggest changes that better align it with the ACME Backoffice.
TABLE OF CONTENTS |
About White Label Websites
As a white label site, your online checkout website will be run by ACME, but includes a number of features that identify it as part of your organization, including:
- Your header
- Your logo
- Top-level navigation links
- Text that guides customer though the site
- Last minute reminders (non-refundable, no large bags, etc.)
You are able to configure the specific language and appearance of your online checkout site with the variables configured in the Theme section in the ACME Backoffice. In addition, you can make changes to the text, navigation links, or styles of your online checkout site to match your organization's website.
Note: Theme data is cached on our ACME servers, as this data generally doesn't change very often. However, we do check every 30 minutes to see if there is new content to display and update our cache accordingly. Depending on when the next check is scheduled, your Theme may update sooner than 30 minutes, with 30 minutes being the maximum update time.

When it comes to checkout, it's important that information is quick to load for guests and members. By caching information such as Theme data, we don't need to hit our servers on every page load, thus saving valuable time for your guests and members.
Controlling the Display Order of Events
By default, the ACME online checkout site will display events with web sales turned on in alphabetical order, with member only templates displayed below "standard" events available for anyone to purchase. If you prefer, you can specify the order in which published Events are displayed on your online checkout site. This means that you can have Events display according to popularity, price, or any way you’d like.
To enable event template display order in ACME, go to:
- Settings > Administration in ACME Backoffice
- Under the “Website (B2C)” tab, toggle “Honor event template display order in list view" to YES.
To change the display order, in the Backoffice:
- Go to Events >Event Templates.
- Next to “Create Template”, click the "down arrow" in the upper right side of the screen.
- Then click “Edit Display Order”. You will be brought to a page on which you can drag Templates into a new order, or use the up and down arrows next to each Template to give each one a number that will determine its place. ("1" will display first, "2" will display second, etc.)
- Click "Save Display Order" at the top of the page to save the new changes.
Once this setting is activated, you will be prompted to assign a display order when you click publish on new or existing event templates. New templates will default to display first, unless a different sort order is assigned at that time.
Purchase Experiences
Your online checkout site utilizes dynamic URLs. These URLs pull the information about your events from Backoffice into your online checkout website.
There are four different ways that information may appear on your online checkout site. The "Buy Tickets" button will direct visitors to one of the following four Purchase Experiences. (The "Buy Tickets" button location may vary based on the URL.)
Reference the ACME Online Checkout (B2C) Website Deep-linking Guide for more information on how to streamline the guests' experience while purchasing tickets by using deep-linking from your venue's website site to ACME's online checkout site.
Calendar URL
The Calendar view shows visitors a calendar where they can see the offerings for each day. This can be used in two ways:
|  |
Event List
| The Event List shows all current offerings. Clicking "Tickets" takes visitors to a calendar that shows all days that Event is offered. This list displays Events' short descriptions (from their Event Template). Visitors can click the "Learn More" link to view more information and images about the event (this will take them to the Event Details page). The order of event listings on the Events List page is managed in the Backoffice. |  |
Event Details Page
| The Event Details view brings the visitor to the Event's full page. Clicking "Tickets" takes visitors to a calendar that shows all days the Event is offered. This view shows full descriptions of the events (from their Event Template). | 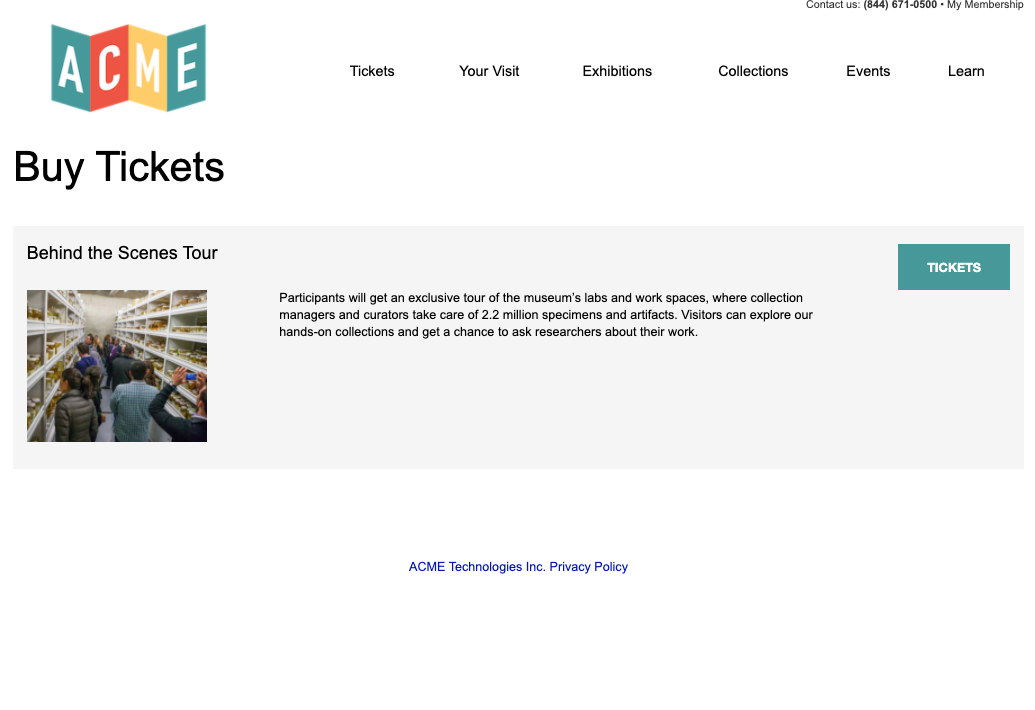 |
Ticket Select
| The Ticket Select link brings visitors to a schedule instance with a specific date and time. The visitor selects their ticket quantity from this page and checks out directly. This page can also be configured to display up-sell items including:
This link is often used when an Event has only one date. | 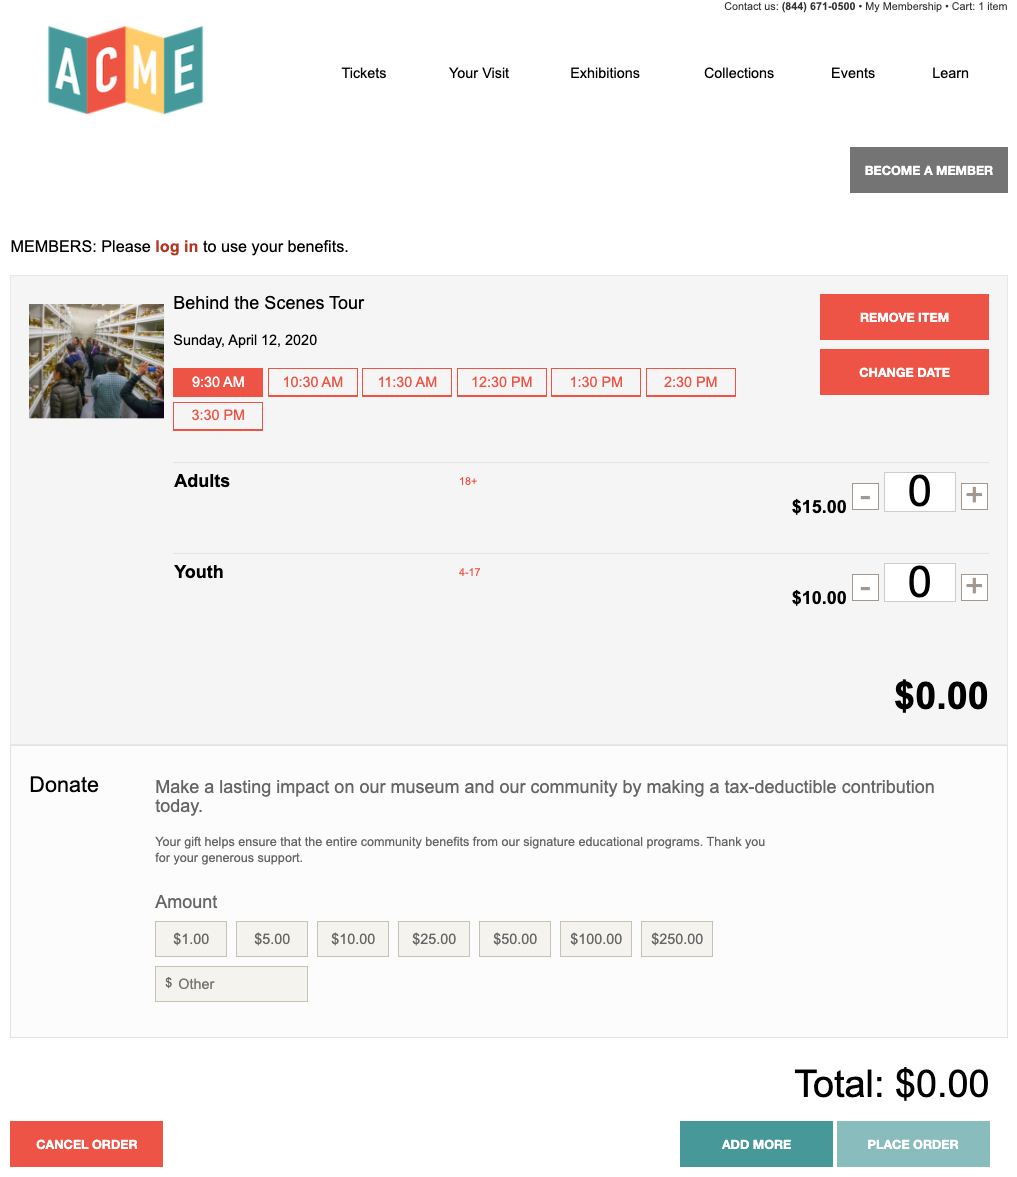 |
Placing an Order
Once the customer has found the Event Instance (day/time), they select the number and type of tickets to purchase.. They may also select any add-ons, make a charitable contribution, and any other Events also offered on that specific date. (These will appear at the bottom of the page.) Once the selections have been made, they will click the "Place Order" button at the bottom of the page.
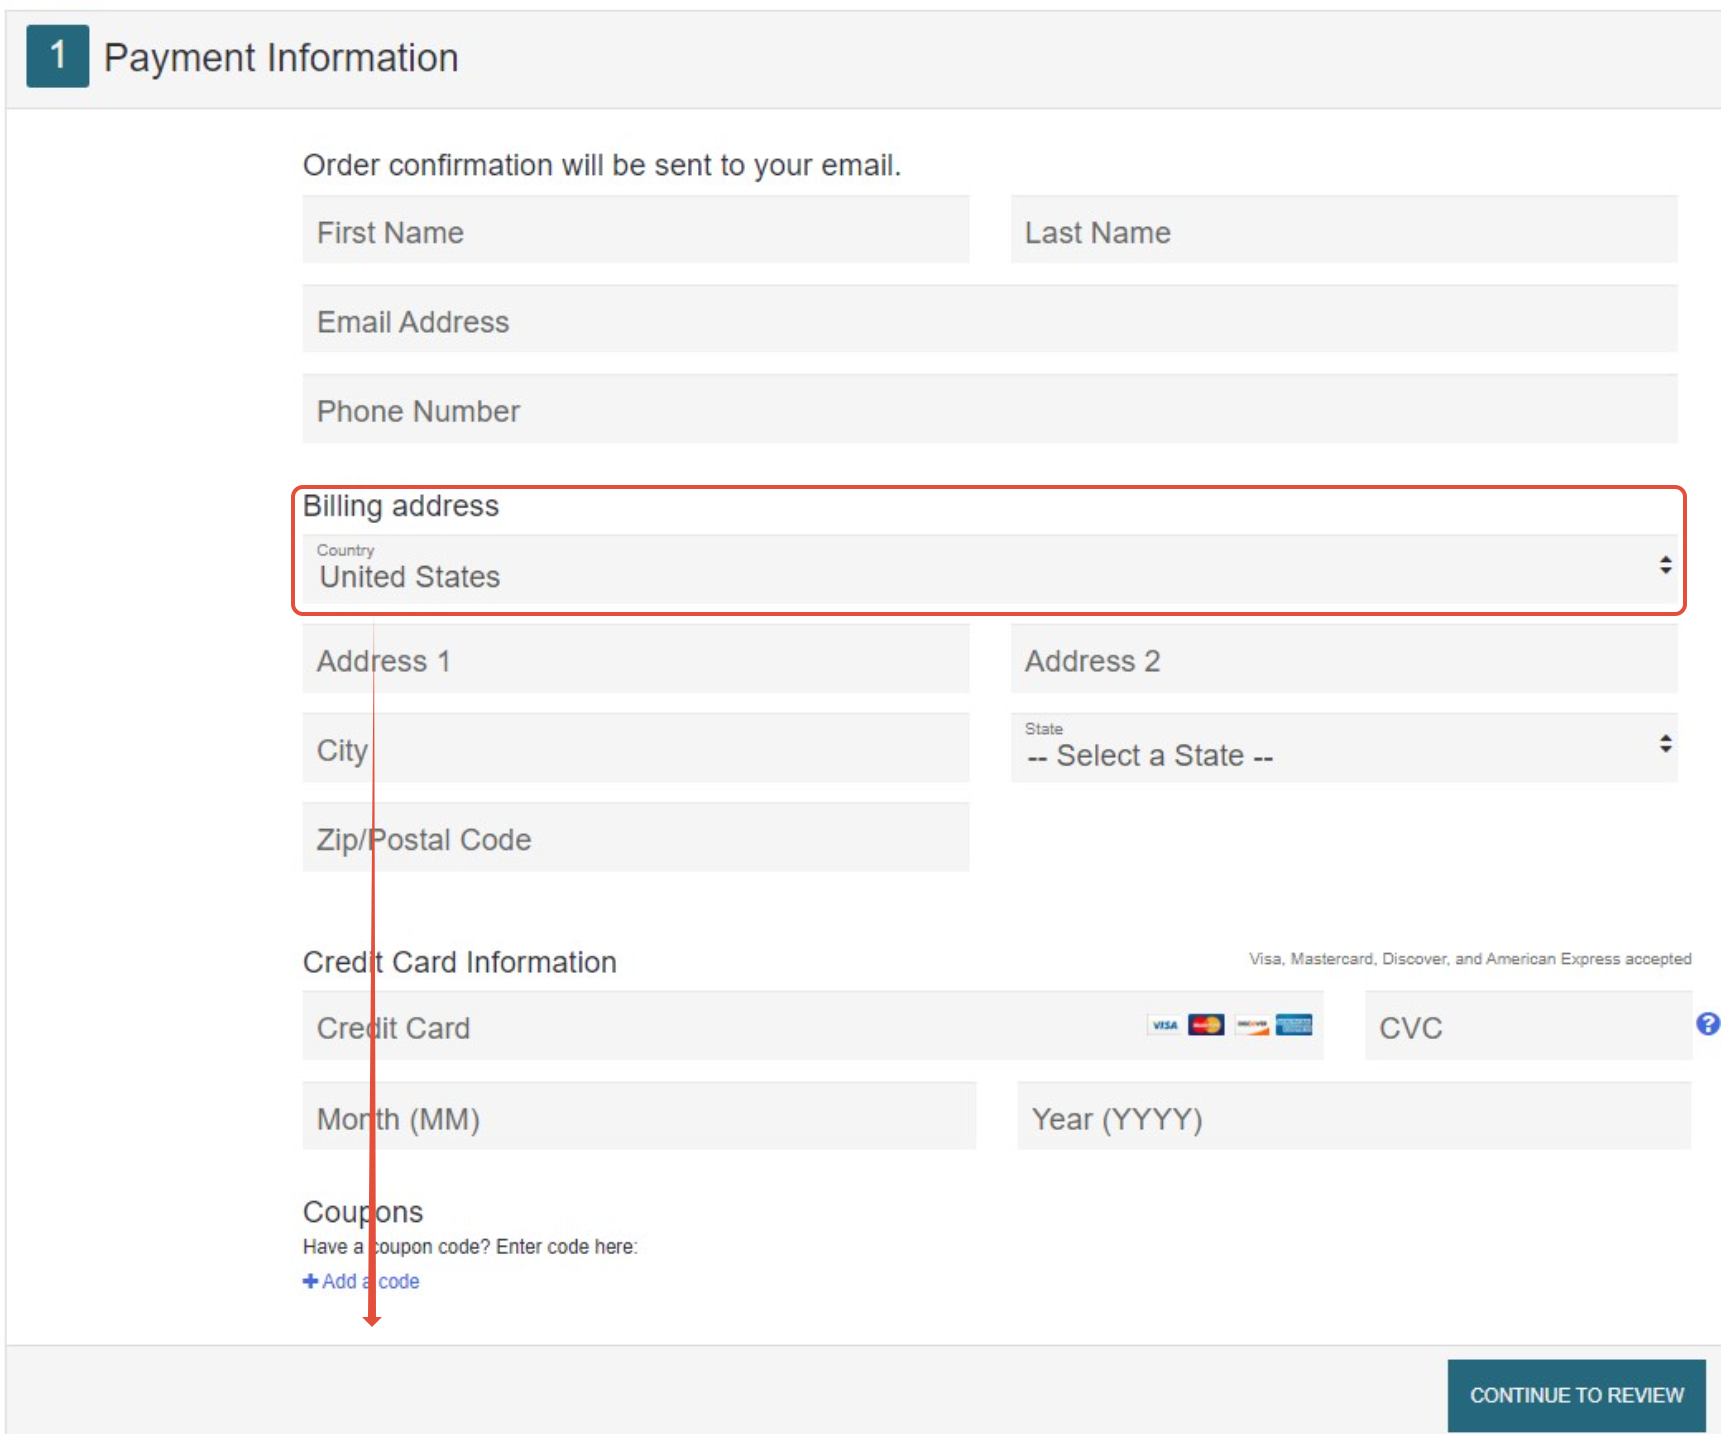
Checkout is designed to be easy and quick. The visitor can see their selected items and price total and will be prompted to enter the following:
- First Name, Last Name
- Email Address
- Phone Number
- Billing Address
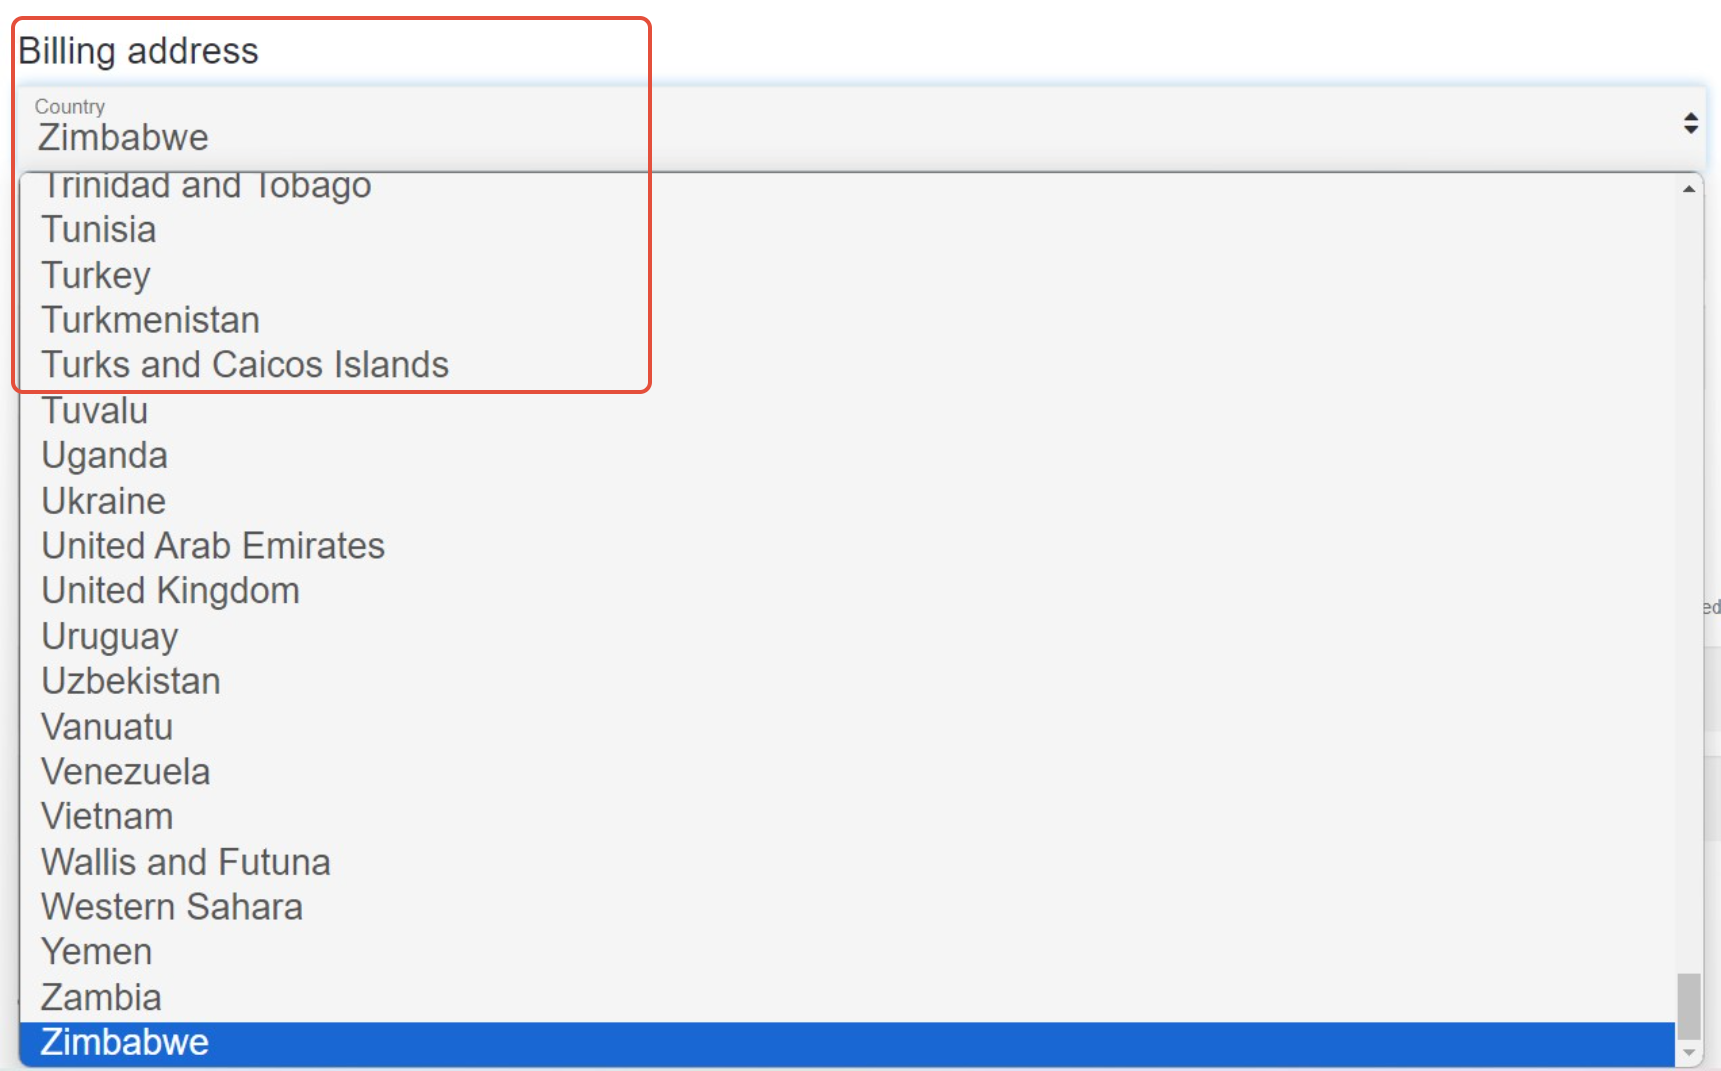
- Country
- Address 1
- Address 2
- City
- State
- Zip/Postal Code
- Credit Card Information
- Credit Card
- CVC
- Month (MM)
- Year (YYYY)
They can also enter a coupon code if they have one.
Customer ID
After receiving this information, the system will check if there is a Customer ID that matches the customer's information. If a match is found, the system will attach the order to the Customer ID number. If not, a Customer ID number will be created. This process happens in the background without the visitor needing to actively create an account or set/remember a password. Once a Customer ID is set it will be referenced for any future orders placed by this visitor through any ACME sales channel.
Order Confirmation
Upon submission, the visitor consents to the policies and the ACME Terms of Service. After submission, the client is directed to the Order Confirmation page with the following information:
- Details of their order
- An Order number
- A reminder that they will receive an email with their order details and tickets (if event is not set-up as will-call)
- Links back to the home page of the client site and/or the client's FAQ page.